
- 프로젝트 파일 들어가서
npm init실행하면 package.json 파일 생성 npm react react-domnpm i -D webpack webpack-clinpm i -D babel-loader @babel/corenpm i -D @babel/preset-envnpm i -D @babel/preset-react- 프로젝트 폴더에
webpack.config.js파일 추가
1
2
3
4
5
6
7
8
9
10
11
12
13
14
15
16
17
18
19
20
21
22
23
24
25
26
27
28
29
30
// webpack.config.js

const path = require('path');

module.exports = {
    mode:'development',
    devtool: 'eval', // 개발일 땐 eval, 프로덕션일 땐 hidden-source-map
    resolve: {
        extensions: ['.jsx', 'js']
    },

    entry: {
        app: './client.jsx'
    },

    module: {
        rules: [{
            test: /\.jsx?$/,
            loader: 'babel-loader',
            options: {
                presets: ['@babel/preset-env', '@babel/preset-react'],
            }
        }],
    },

    output: {
        filename: 'app.js',
        path: path.join(__dirname, 'dist')
    }
}
1
2
3
4
5
6
7
8
9
10
11
12
13
14
15
16
17
18
19
20
21
22
23
24
25
// package.json
{
  "name": "gugudan",
  "version": "1.0.0",
  "description": "",
  "main": "index.js",
  "scripts": {
    "test": "echo \"Error: no test specified\" && exit 1",
    "dev": "webpack" // 해당 스크립트 추가
  },
  "author": "leehanna",
  "license": "MIT",
  "dependencies": {
    "react": "^18.2.0",
    "react-dom": "^18.2.0"
  },
  "devDependencies": {
    "@babel/core": "^7.20.2",
    "@babel/preset-env": "^7.20.2",
    "@babel/preset-react": "^7.18.6",
    "babel-loader": "^9.1.0",
    "webpack": "^5.74.0",
    "webpack-cli": "^4.10.0"
  }
}
웹팩 세팅과 스크립트 설정이 끝나면 npm run dev 를 실행한다.
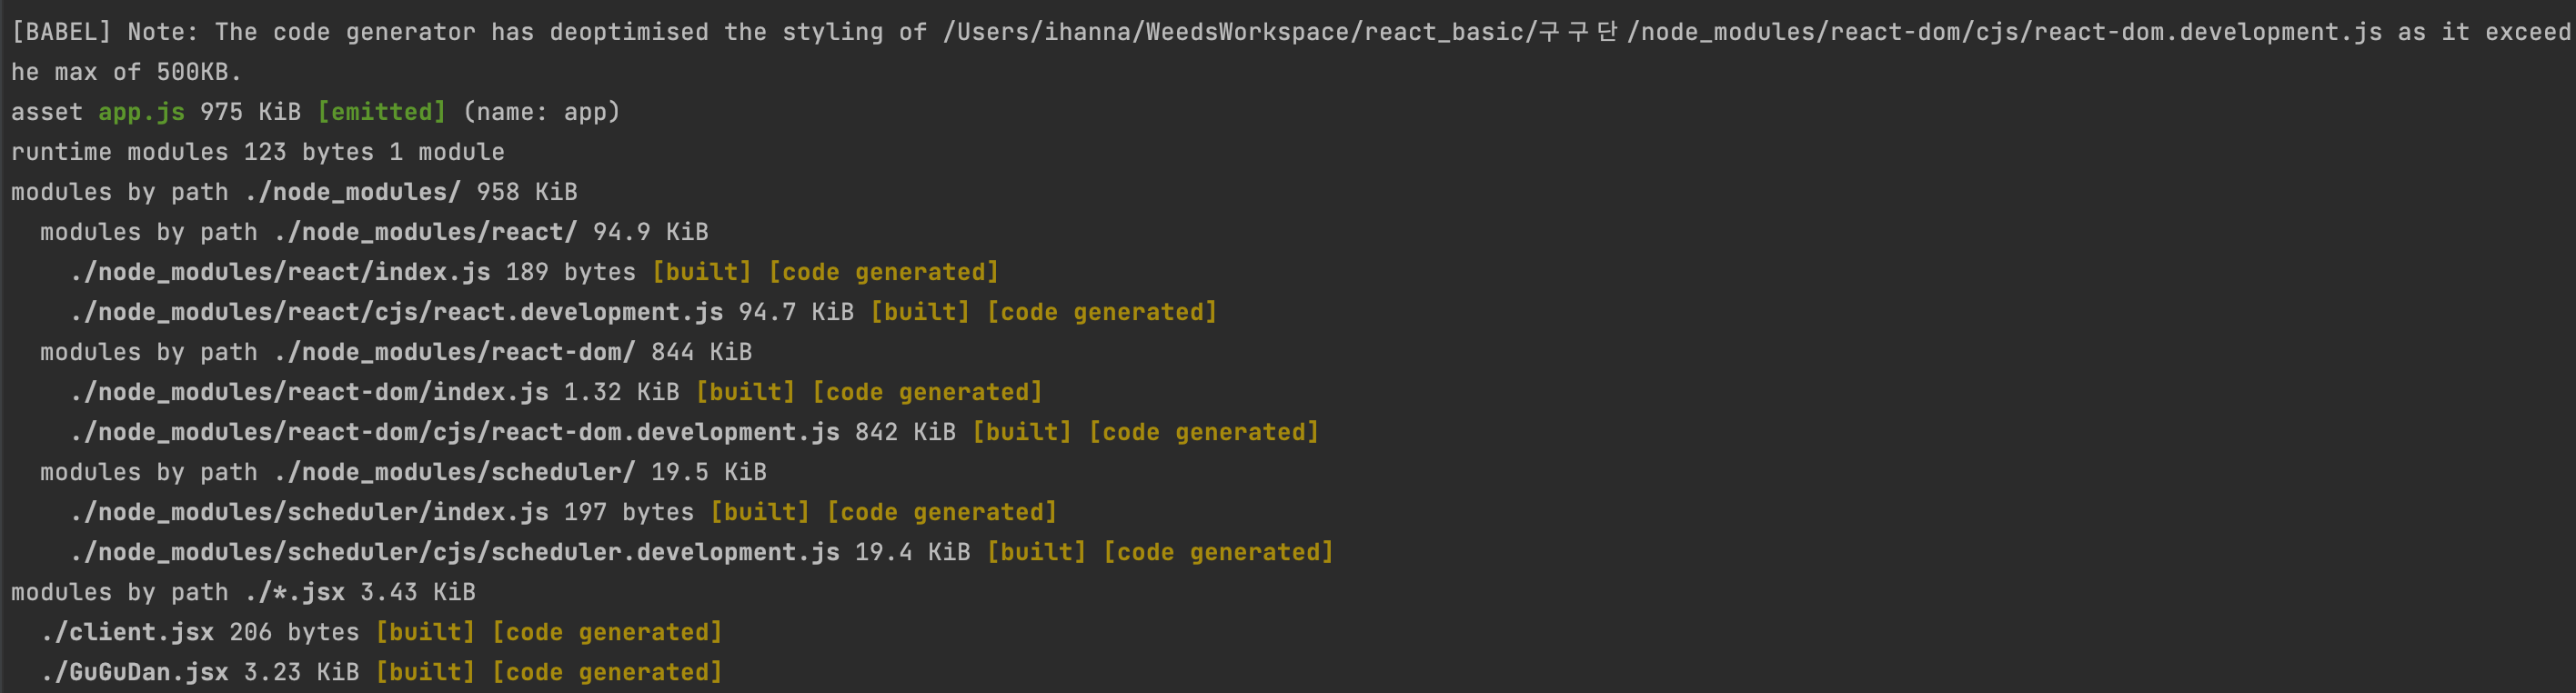
프로젝트 폴더에 dist파일이 생성되면 웹팩 빌드가 성공한 것이다 !!